 |
Last additions - 1999 Jeep WJ pics |
 |
|

908 viewsComing together nicely happy I could save the inner fender (for now anyway) Mar 11, 2019
|
|

980 viewsinner fender working out well on pass side Mar 11, 2019
|
|

927 viewsTaped and primed Mar 11, 2019
|
|

994 viewssanded and ready for priming Mar 11, 2019
|
|

931 viewsPinch weld ground back a lot Mar 11, 2019
|
|

1018 viewsEnd cap fitting nicely ! Mar 11, 2019
|
|

1022 viewsCustom fitting the end cap Mar 11, 2019
|
|

955 viewsGrinding the pinch weld back on driver side Mar 11, 2019
|
|

1021 viewsYep looks good, Mar 11, 2019
|
|
1112 viewsall slotted and ready for the trim Mar 11, 2019
|
|

930 viewsMarked the trim for cutting (always go big and then sand it down gradually to get the perfect fit, once its too small you`re screwed !! ) Mar 11, 2019
|
|
998 viewsFolded it over to make the new edge Mar 11, 2019
|
|
958 viewsHad to drill the slot out so the plastic mounting tab on the trim would fit back in Mar 11, 2019
|
|
962 viewsCut the slits Mar 11, 2019
|
|
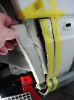
956 viewsCut the first section out Mar 11, 2019
|
|
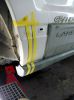
1043 viewsMeasured it to be the same as pass side and taped it Mar 11, 2019
|
|
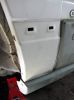
966 viewscleaned the panel Mar 11, 2019
|
|
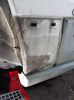
932 viewsRemove trim. Mar 11, 2019
|
|
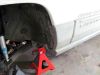
1346 viewsWhile pass side primer was drying I moved to the driver side. This one went much quicker like under an hour now that I had the process down pat. Mar 11, 2019
|
|
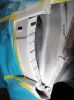
1059 viewsPrimed it well. Mar 11, 2019
|
|
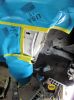
987 viewsI sanded it down and prepped it for primerMar 11, 2019
|
|
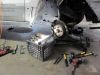
972 viewsThe amount of tools needed for this job. Mar 11, 2019
|
|
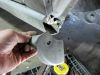
1009 viewsI custom trimmed the end cap as well so it would fit back on and look like it came that way. Mar 11, 2019
|
|
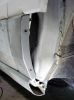
964 viewsTrim cut to fit and ready to mount Mar 11, 2019
|
|
|
|


