 |
Most viewed - 1999 Jeep WJ pics |
 |
|
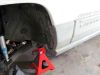
1336 viewsWhile pass side primer was drying I moved to the driver side. This one went much quicker like under an hour now that I had the process down pat.
|
|
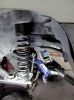
1247 viewsNew isolators and spacer installed
|
|
1130 views
|
|
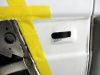
1103 viewsall slotted and ready for the trim
|
|
1075 viewsother rear coil removed
|
|
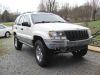
1062 viewsAFTER !
|
|
1060 viewsDriver side trimmed
|
|
1058 viewspassenger side corner piece I made and riveted on, sanded and ready for epoxy
|
|
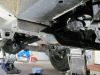
1057 viewsNew front driveshaft done
|
|
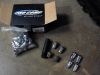
1055 viewsDoing away with those crappy factory lug nuts and replacing with Pro Comp off road ones.
|
|
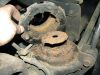
1049 viewsBadly worn and dry rotted rubber isolators and rusted frame towers
|
|
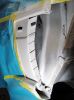
1048 viewsPrimed it well.
|
|
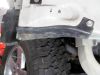
1041 viewsI manipulated the inner fender and wrapped it around the horns and screwed it to the front metal bumper
|
|
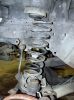
1038 viewsremoving the front coil springs
|
|
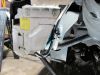
1037 viewsDriver side has a windshield washer fluid reservoir that is definitely in the way. if you are planning on serious off roading this MUST be removed completely. If you still need one you can get on out of an XJ that mounts up near the brake master cyl that uses the same plug ins etc.
|
|
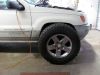
1036 viewsThe new rims/tires I am going to use after it is lifted
|
|
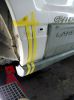
1036 viewsMeasured it to be the same as pass side and taped it
|
|
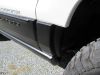
1036 viewsAFTER painting the trim black ! And a new black grille,,
|
|
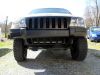
1028 viewsAFTER painting the trim black ! And a new black grille,,
|
|
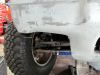
1026 viewsI kept trimming until I got the look I was after
|
|

1025 viewsdriveshaft mounted to transfer case
|
|
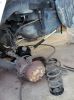
1025 viewsSpacer in, now ready to put coil back in. Lots of room on first one.
|
|
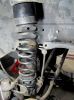
1024 viewsone rear coil done
|
|

1024 viewsNew rubber plug replaced and grease topped off.
|
|
|
|


